Anyways, keeping all these things aside, the device is still following the legacy of OnePlus devices and has proven to be quite an active player in the custom development. Be it for flashing custom ROMs, installing a custom recovery or gaining administrative access by rooting the device, there’s a lot to look forward. If we talk about custom ROMs, each of them requires you to be on the newest vendor firmware. So if you havwen’t done so yet, then this guide will help you update/flash the Android 12 firmware on your OnePlus 9 via fastboot commands. Follow along.
Flash/Update Android 12 Firmware on OnePlus 9 via Fastboot Commands
The below instructions are listed under separate sections for ease of understanding. Make sure to follow the same sequence as mentioned. Droidwin and its members wouldn’t be held responsible in case of a thermonuclear war, your alarm doesn’t wake you up, or if anything happens to your device and data by performing the below steps.
STEP 1: Install Android SDK
First and foremost, you will have to install the Android SDK Platform Tools on your PC. This is the official ADB and Fastboot binary provided by Google and is the only recommended one. So download it and then extract it to any convenient location on your PC. Doing so will give you the platform-tools folder, which will be used throughout this guide.
STEP 2: Download OnePlus 9 Android 12 Firmware
Next up, you will have to get hold of the stock firmware for your OnePlus 9 Pro device. At the time of writing, the official site of OnePlus hasn’t uploaded the Android 12 firmware. So you will have to opt for other trustworthy sources, such as XDA or the Oxygen Updater app, links for both have been shared below
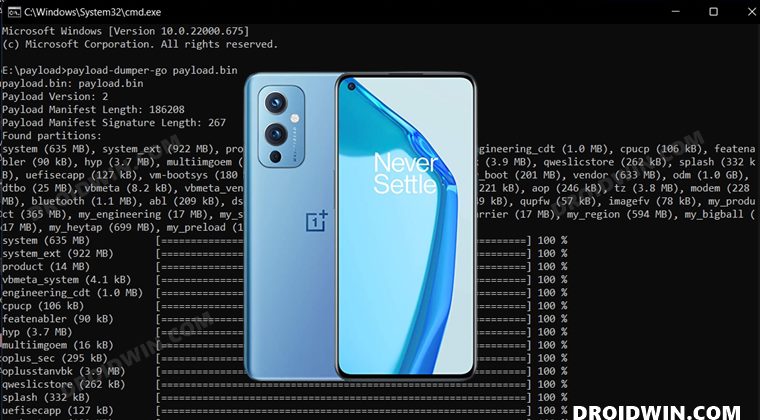
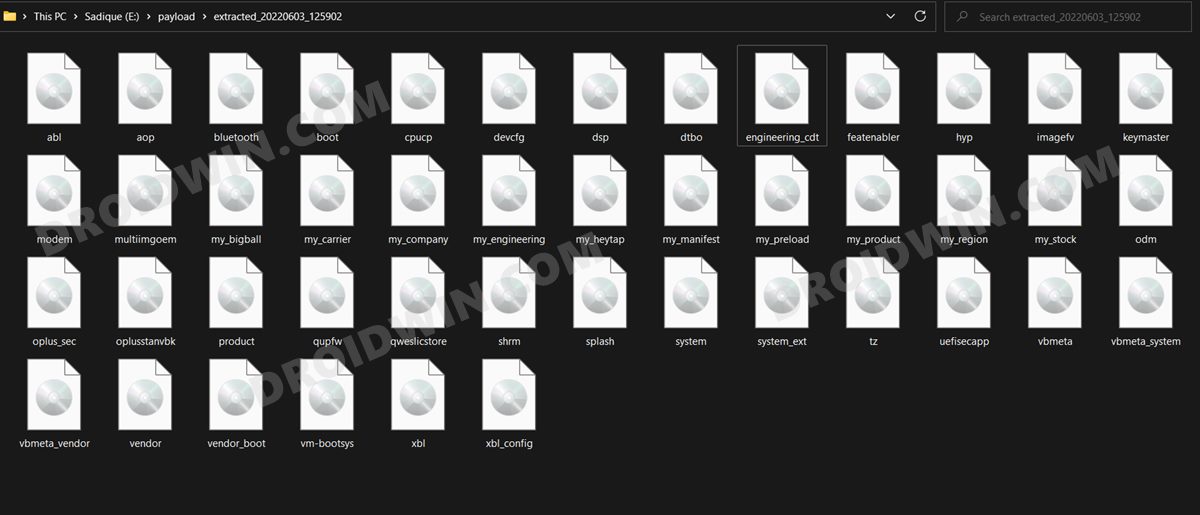
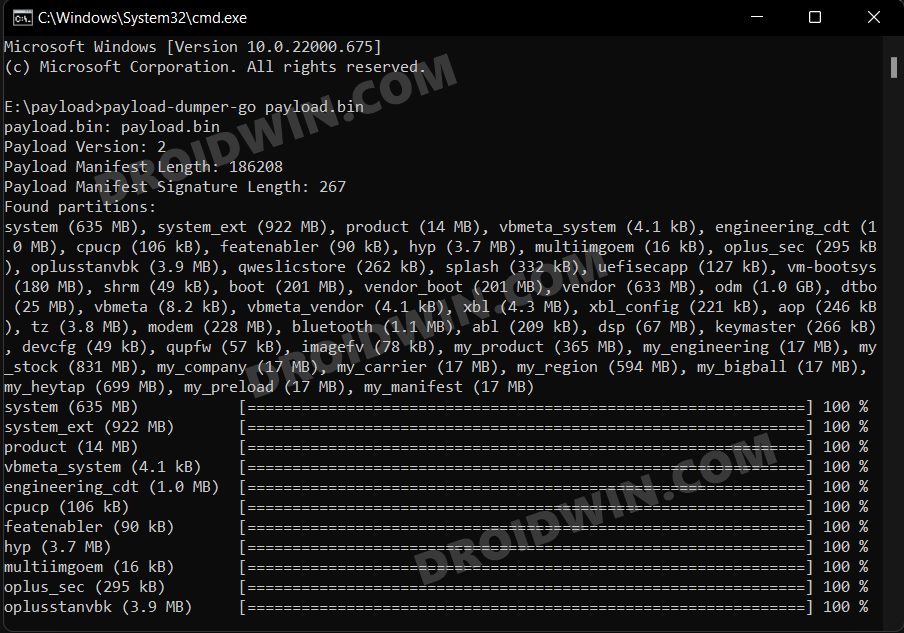
STEP 3: Extract OnePlus 9 Payload.bin
Once you have downloaded the firmware, extract it to any convenient location on your PC. Doing so shall give you a couple of files, including the payload.bin. And we will have to extract this file to get hold of all the partition files. So refer to our guide on How to Extract the OnePlus Payload.bin file. Once extracted, you will get the required partition files, transfer all of them to the platform-tools folder.
STEP 4: Boot OnePlus 9 to FastbootD Mode
You will now have to boot your device to the FastbootD Mode to flash the partition files. For that, you may check out our comprehensive tutorial on How to Boot to FastbootD Mode [3 Methods] or refer to the below shorter instructions –
STEP 5: Update Android 12 Firmware on OnePlus 9 via Fastboot Commands
Now just execute the below commands in the CMD window that is opened in the platform-tools folder. Moreover, as soon as you execute the last command, your device will automatically boot to the Android 12 OS. That’s it. These were the steps to flash/update the Android 12 firmware onto your OnePlus 9 device via Fastboot Commands. If you have any queries concerning the aforementioned steps, do let us know in the comments. We will get back to you with a solution at the earliest.
OnePlus 9 Pro T-Mobile Modem Retention and Data FixConvert OnePlus 9 Pro T-Mobile to EU via MSM Tool [Without unlock.bin]How to Switch between ColorOS and OxygenOS in OnePlus 9 ProScreen Flickering in OnePlus 9/Pro after Android 12 update [Fixed]
About Chief Editor