Download Mode instead of Fastboot Mode, flashing via Odin instead of Fastboot Commands, patching AP instead of boot.img for root, Knox getting permanently tripped with no way out as opposed to SafetyNet, and the list goes on. Likewise, when it comes to flashing ROMs, then the landscape is somewhat different there as well. While most devices do have long-lasting support for custom ROMs, there are a few that have been left out in the open. For those neglected sets of devices, a Generic System Image comes to their rescue. Using these GSI ROMs, you could nearly all the goodies that a custom ROM has to offer. Moreover, all the popular players in the town including Pixel Experience, LineageOS, and even Google’s official releases are all part of this GSI family. So without further ado, let’s get you acquainted with the steps to install the Android 13 GSI ROMs onto your Samsung device. Follow along.
How to Install Android 13 GSI ROMs on Samsung Devices
We are listing here two different methods that will help you get this job done. So what’s the difference between both these methods? Well, in the second method, we will directly flash the GSI ROM’s system.img via TWRP whereas, in the first method, we will first convert the GSI ROM to ZIP format and then flash it via TWRP. If you want to flash just the official Google GSI ROM [clean stock Android experience], then opt for the second method. On the other hand, if you want to flash a custom GSI ROM, such as Lineage or Pixel Experience, then opt for the first method. Just make sure to take a data backup beforehand. Droidwin and its members wouldn’t be held responsible in case of a thermonuclear war, your alarm doesn’t wake you up, or if anything happens to your device and data by performing the below steps.
Method 1: Flash GSI ROM by converting System.img to ZIP
As already mentioned before, this method comes in handy if you are planning to flash a custom GSI, such as Pixel Experience. So with that in mind, let’s get started.
STEP 1: Install Android SDK
First and foremost, you will have to install the Android SDK Platform Tools on your PC. This is the official ADB and Fastboot binary provided by Google and is the only recommended one. So download it and then extract it to any convenient location on your PC. Doing so will give you the platform-tools folder, which will be used throughout this guide to install the GSI ROM onto your Samsung device.
STEP 2: Download GSI Flasher Tool
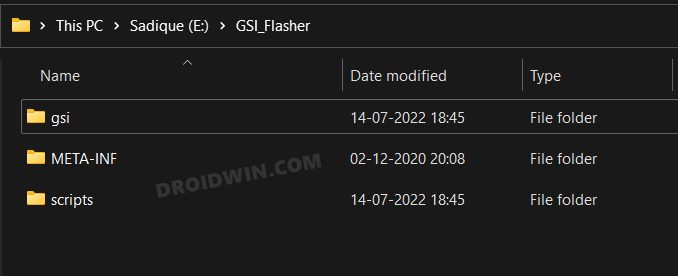
Next up, download the GSI Flasher Tool and extract it to any convenient location on your PC.
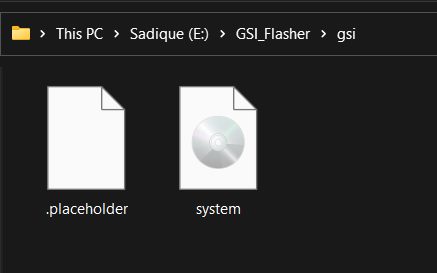
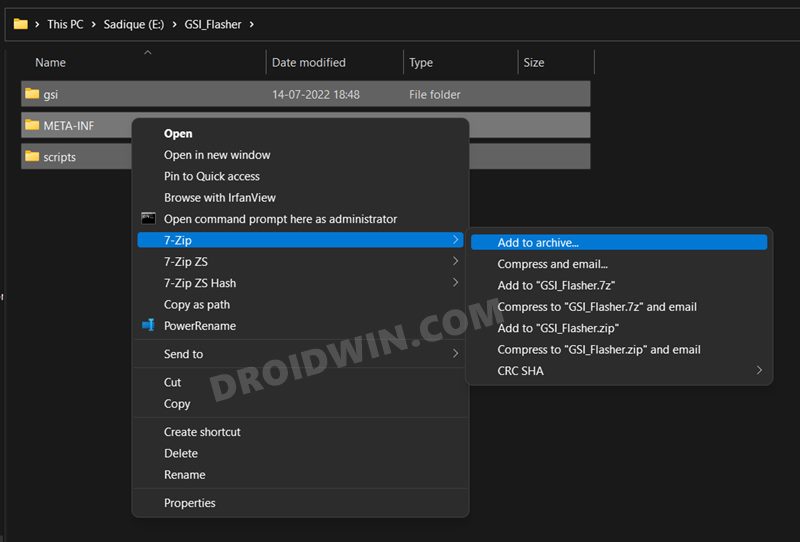
STEP 3: Convert LineageOS GSI ROM to TWRP Flashable
STEP 4: Enable USB Debugging and OEM Unlocking
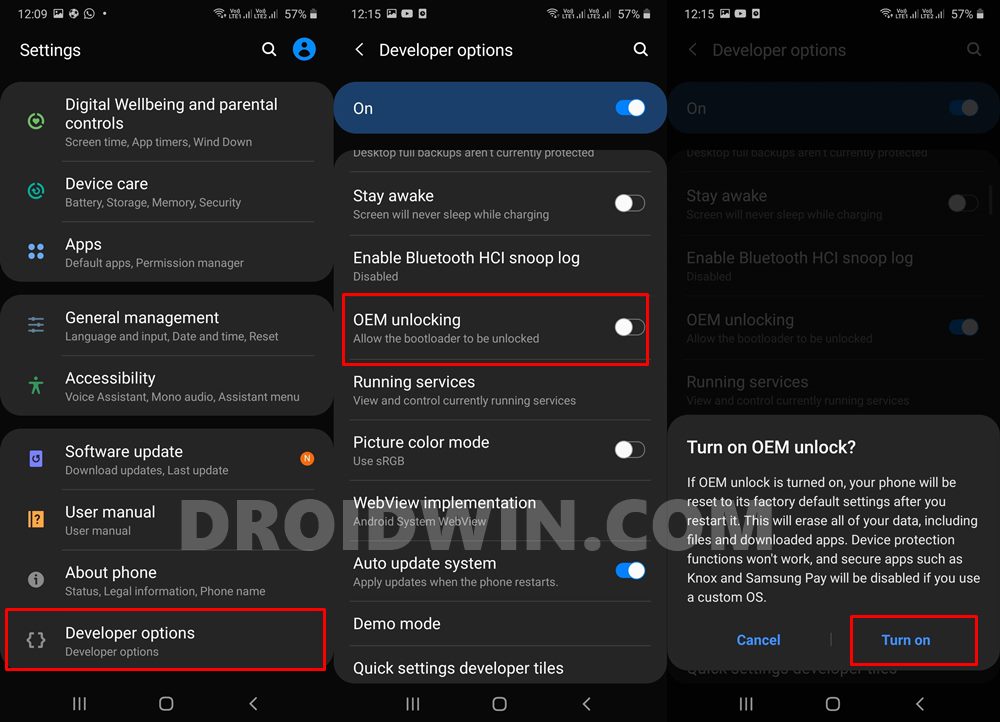
You will also have to enable USB Debugging and OEM Unlocking on your device. The former will make your device recognizable by the PC in ADB mode. This will then allow you to boot your device to Fastboot Mode. On the other hand, OEM Unlocking is required to carry out the bootloader unlocking process.
So head over to Settings > About Phone > Tap on Build Number 7 times > Go back to Settings > System > Advanced > Developer Options > Enable USB Debugging and OEM Unlocking.
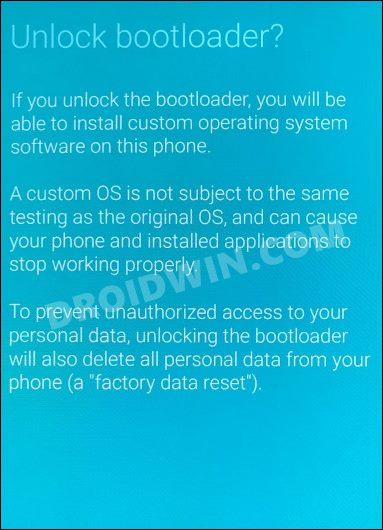
STEP 5: Unlock Bootloader on Samsung
You will also have to unlock the device’s bootloader to install the LineageOS GSI ROM onto the Samsung device. Do note that doing so will wipe off all the data from your device and could nullify its warranty as well. So if that’s all and good, then please refer to our guide on How to Unlock Bootloader on any Samsung Device [New VaultKeeper Method]
STEP 6: Boot Samsung Device to Download Mode
You will have to boot your device to Download Mode so that you are able to flash the required mods. So either refer to our detailed guide on How to Boot any Samsung Device to Download Mode or refer to the below shorter instructions:
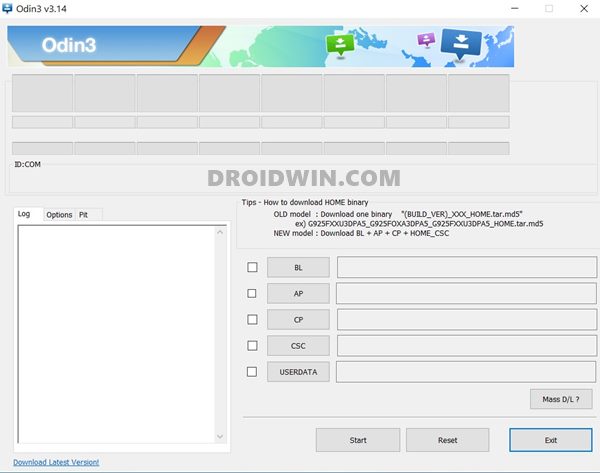
STEP 7: Install Odin
Next up, you will have to download and install the Odin Tool onto your PC. This is needed to flash the TWRP and disable AVB on your device. So get hold of the latest Odin from here: Download: Odin3-v3.14.4.zip. Once downloaded, extract it to any convenient location on your PC.
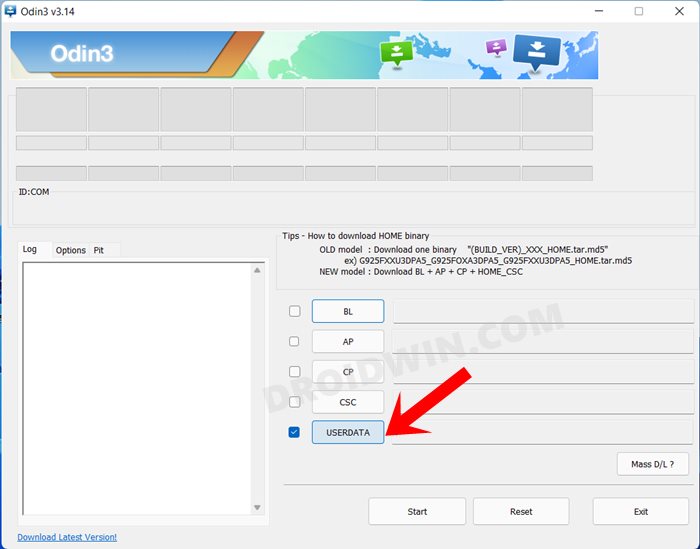
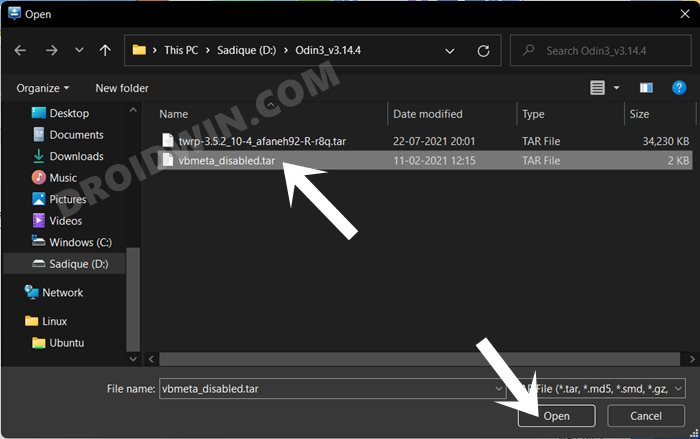
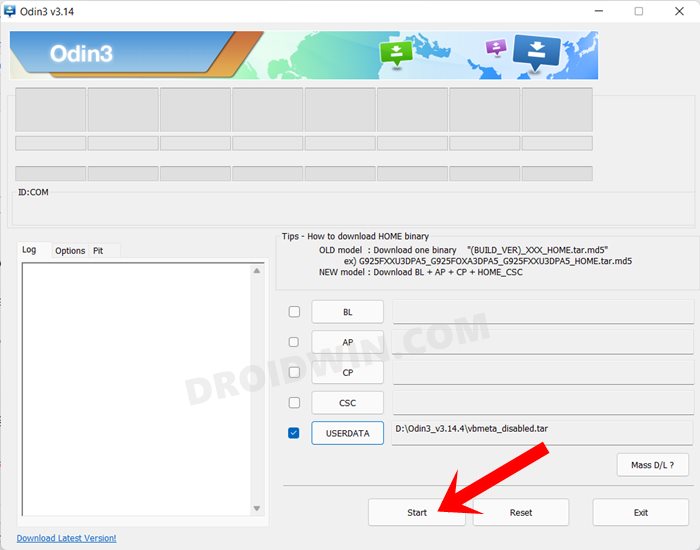
STEP 8: Disable Android Verified Boot
Next up, you will have to disable AVB on your device which would then allow you to flash the desired custom binary (in this case, TWRP). Your device will now undergo a reset and then, the AVB stands disabled. You may now proceed ahead to install the TWRP Recovery and the desired Android 13 GSI ROM on your Samsung device.
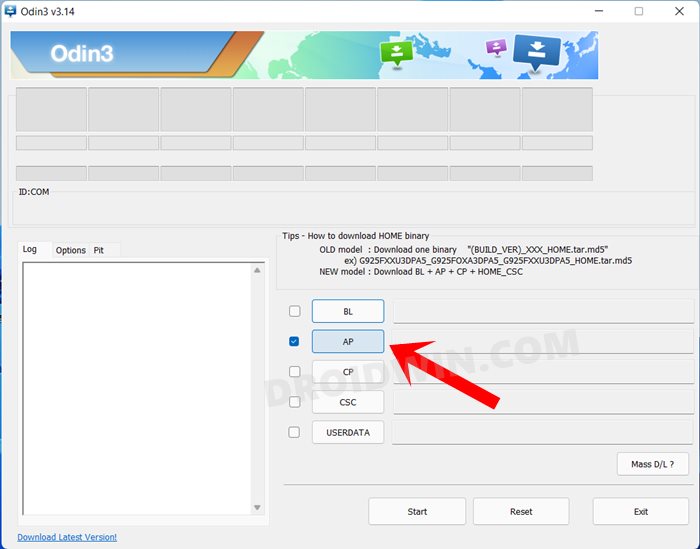
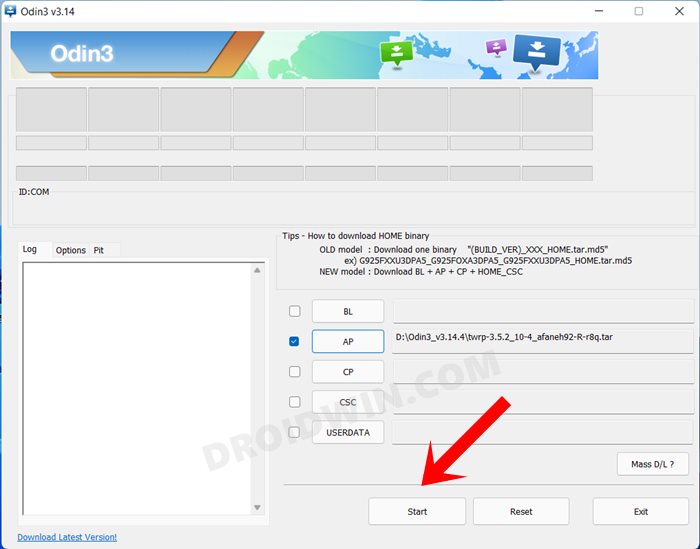
STEP 9: Install TWRP Recovery
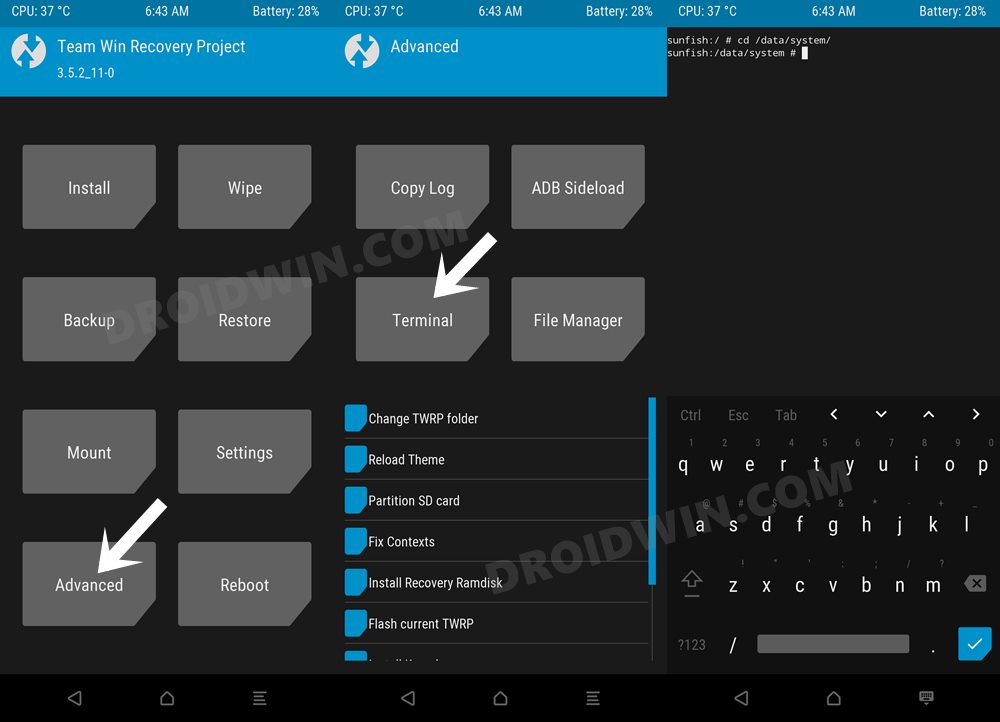
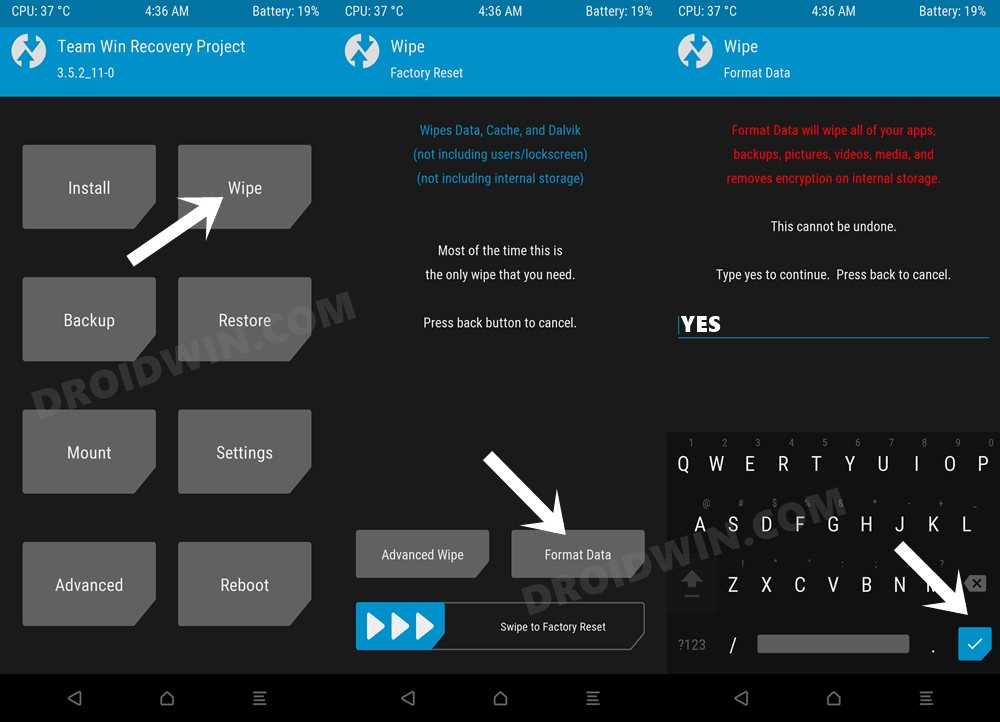
STEP 10: Disable Encryption via TWRP
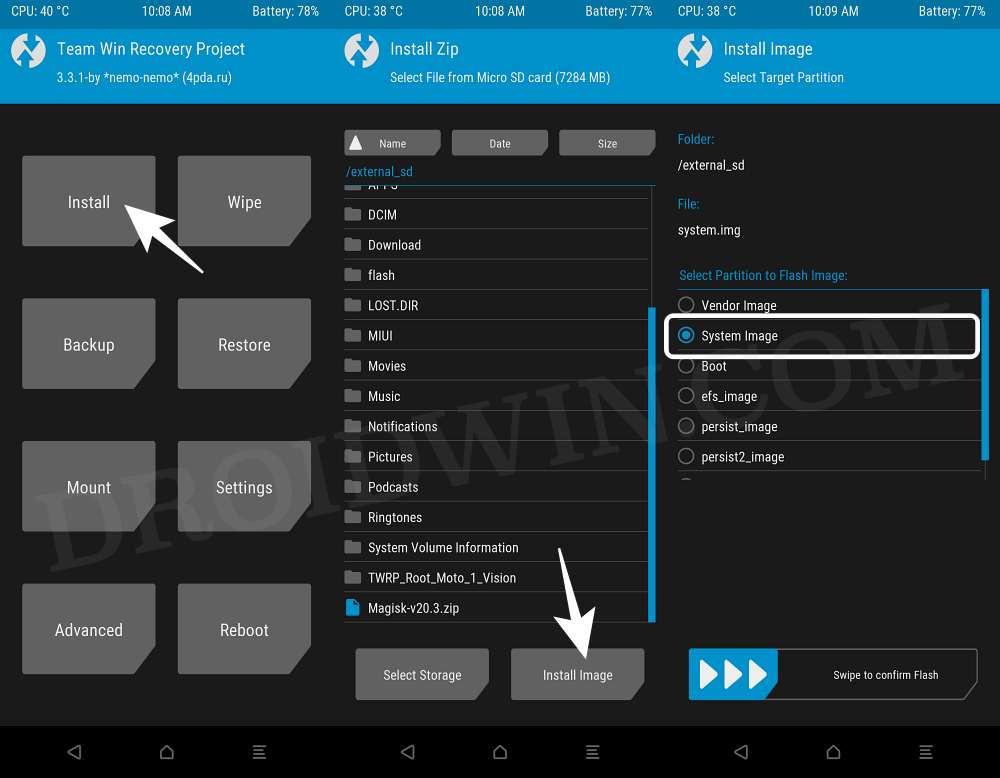
STEP 11: Install GSI ROM via TWRP
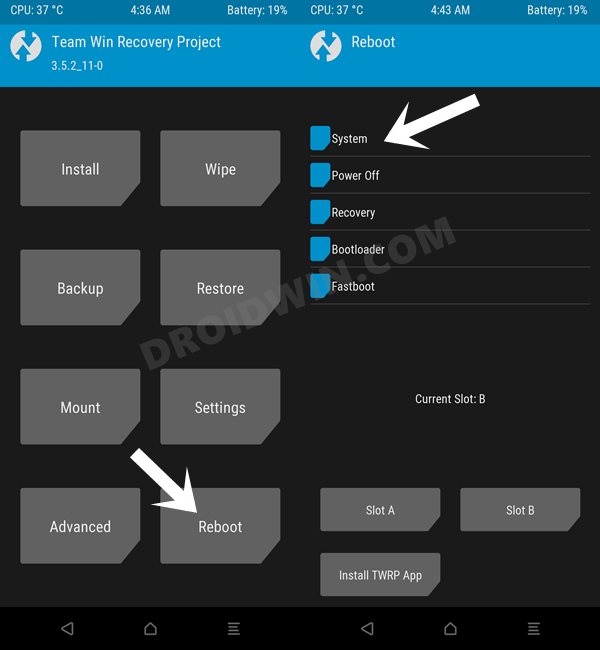
That’s it. These were the steps to install the Android 13 GSI ROM onto Samsung device. If you have any queries concerning the aforementioned steps, do let us know in the comments. We will get back to you with a solution at the earliest.
Method 2: Directly Flash GSI ROM via TWRP
As discussed before, this method comes in handy if you are planning to flash the stock GSI provided by Google. So first off, carry out the STEPS 1 to 10 listed above, excluding STEP 2 and 3 as we don’t need to convert the GSI to ZIP. Once you have done steps [1,4,5,6,7,8,9,10] you may start off with the below instructions: So these were the steps to install the Android 13 GSI ROM onto Samsung device. If you have any queries concerning the aforementioned steps, do let us know in the comments. We will get back to you with a solution at the earliest. GSI ROMs are known to go through a few bugs and issues related to network, 5G, or VoWIFI/VoLTE. In case, you also come across such bugs, then you could refer to our below-listed guides to fix them.
5G, Bluetooth, 90Hz Display, DT2W, Headphone Jack, Brightness Slider not working in GSI ROM: How to FixNo Audio in Bluetooth/Wired Headphones in GSI ROM [Fixed]
Likewise, if your device gets stuck in a continuous bootloop, then it’s most probably in need of disabling the verity checks, which requires flashing the vbmeta. All these have been explained in the below-linked guides, do check them out, if needed:
Device not booting after flashing GSI: How to FixStuck on Bootloop after flashing GSI: Fix by Disabling DM-Verity or Android Verified Boot
About Chief Editor